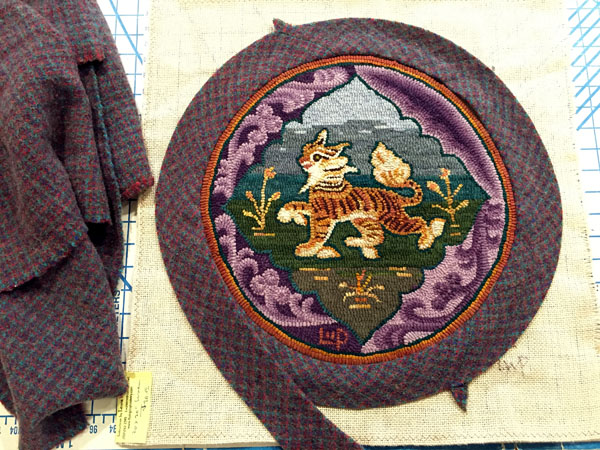
Since I’ve discovered the ways of making these beautiful edges, I use them for my round rugs. Monika Jones uses this method and enlightened me at one of our guild workshops! I used them for rectangular rugs with round corners first, and could see that bias-wool loves to curve! It’s a natural for round and oval rugs. If you want to give it a try, read on…

I hope you know how to cut your wool on the bias: a 45 degree angle that you can cut with your rotary cutter, mat and ruler. You’ll need to attach several pieces to make up an edge long enough to go all the way around. I like to make them 3″ wide and then I fold over 1″ and iron it creased. It’s much easier for me to stitch the wool edging with the ironed crease. I use the ‘ladder’ stitch: 1 stitch in the rug backing right next to the hooking, then 1 stitch into the crease of the bias wool, side by side, and give it a good pull, then onto the next 2 stitches. This stitch pulls everything tight while still having some give; a good thing for a chair rug.

I leave a bit of edge before starting my ladder stitching. When I get all the way around, I’ll need to sew the 2 ends together. The extra edge gives me some room to maneuver. Notice the roll of bias wool edging; you don’t need much for a chair rug.

The bias wool starts to turn under as you stitch around the edge, you can feel the excitement!

I pin the bias wool to the backing, along with the roll, as I stitch it to the rug; this keeps everything copesetic while you’re stitching around.

This part is a little tricky… Connecting the 2 ends diagonally requires a bit of finessing, but is definitely do-able! Mimic the other connections, pin it and check your work before trimming the extra away. Iron the connection after you’ve sewn it together; I hand stitch it one way, then back the other way to double my stitches. After sewing and ironing, fold the crease, iron again, then finish the stitching all around.

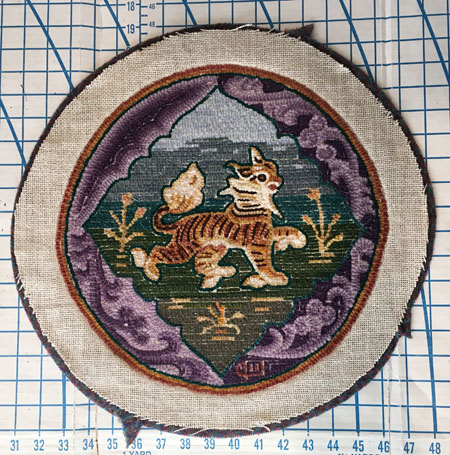
After the bias cut wool is fully attached and ironed, mark around the outer edge on the pattern linen. Use a ruler to mark an inner circle 1/4″ inside the outer edge.

Connect the dots or dashes and cut along the inner circle line. This is because; as you fold-over the bias cut wool and linen together, the linen will ‘creep’. Cutting it shorter will keep it under the wool as you fold it. Next, we prepare to stitch the edge of our bias wool onto the back.


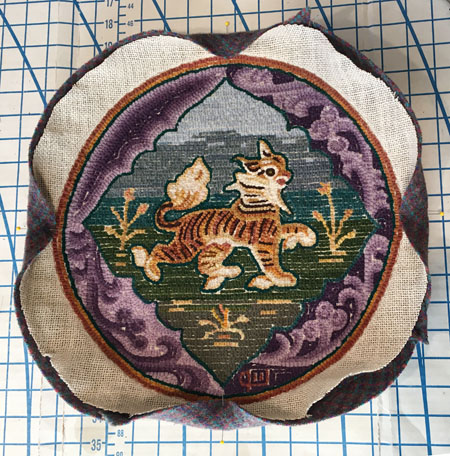
I start pinning the linen and bias-wool folded over, starting at the top, then the bottom, then one side and the other. Sometimes I pin to the second row of hooking, just past the outer ‘beauty-line’ and sometimes I pin to the edge of the hooking.

Keep pinning evenly; one side then the other.

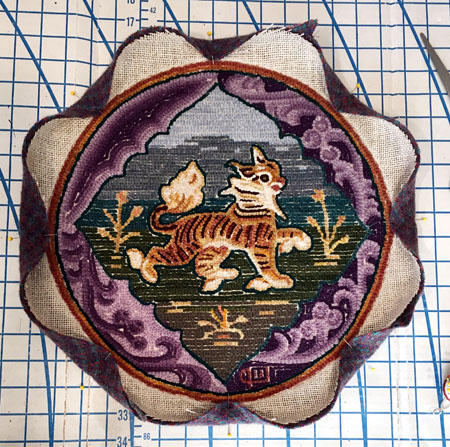
You can pin again for 32 pins, if you like. Notice the linen edge just peaking out.


Folding the bias-wool over, stitche it to your rug at the ‘Beauty Line’ or over it to the next hooked line. In this case, right to the outer ‘Beauty-Line’. Stitch into the linen, go in at a slant (see the needle) to create the visible stitch pointing straight to the middle. The double linen and wool create a substanial edge; worthy of many sittings!
Leave a comment